PlumePack V3 : our V3 introduces a new licensing structure replacing the old V2 FREE / Premium licenses. For V3 licensing details and upgrades, please read our articles : What's new in PlumePack V3 and PlumePack V3 Licenses and Upgrades
You want to license PlumePack to start using its advanced premium features ? In this article is explained all the steps you need to do.
How to Install
Download and follow instructions from this page
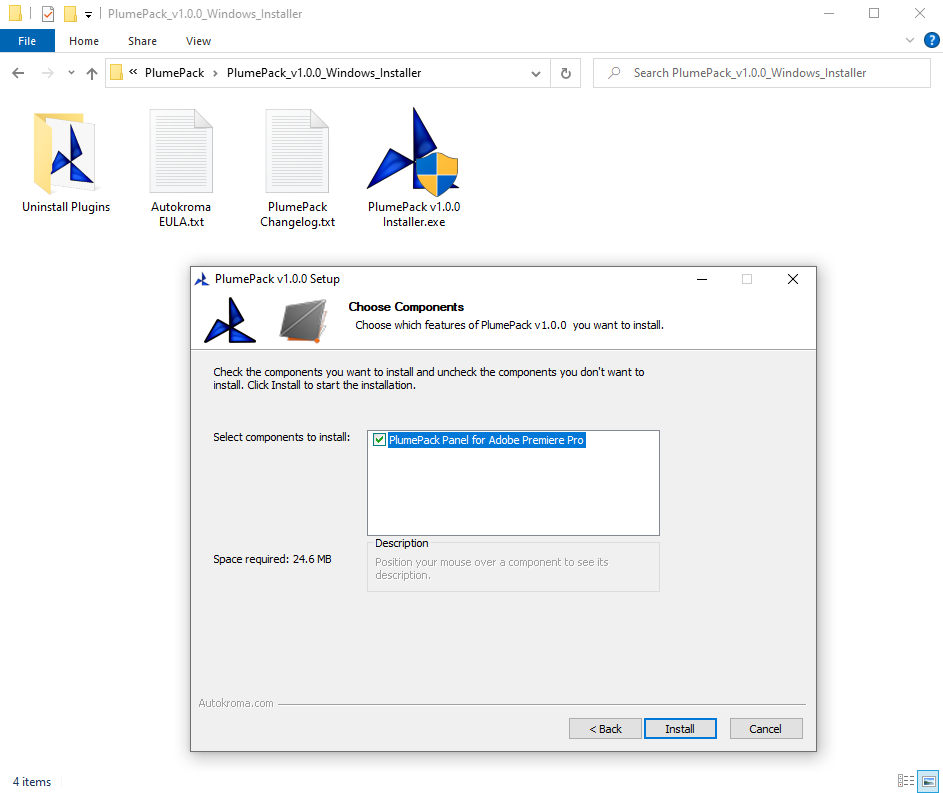
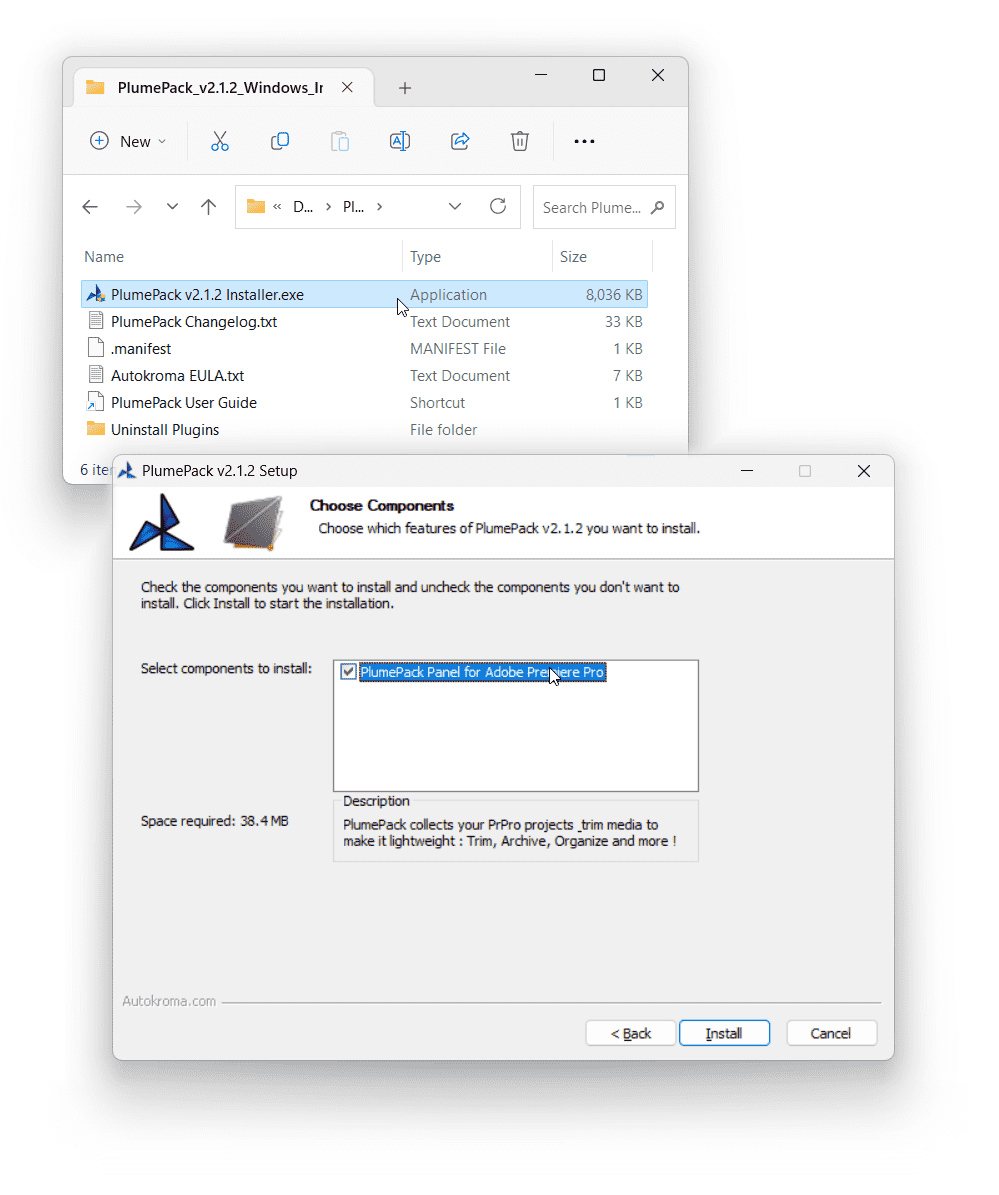
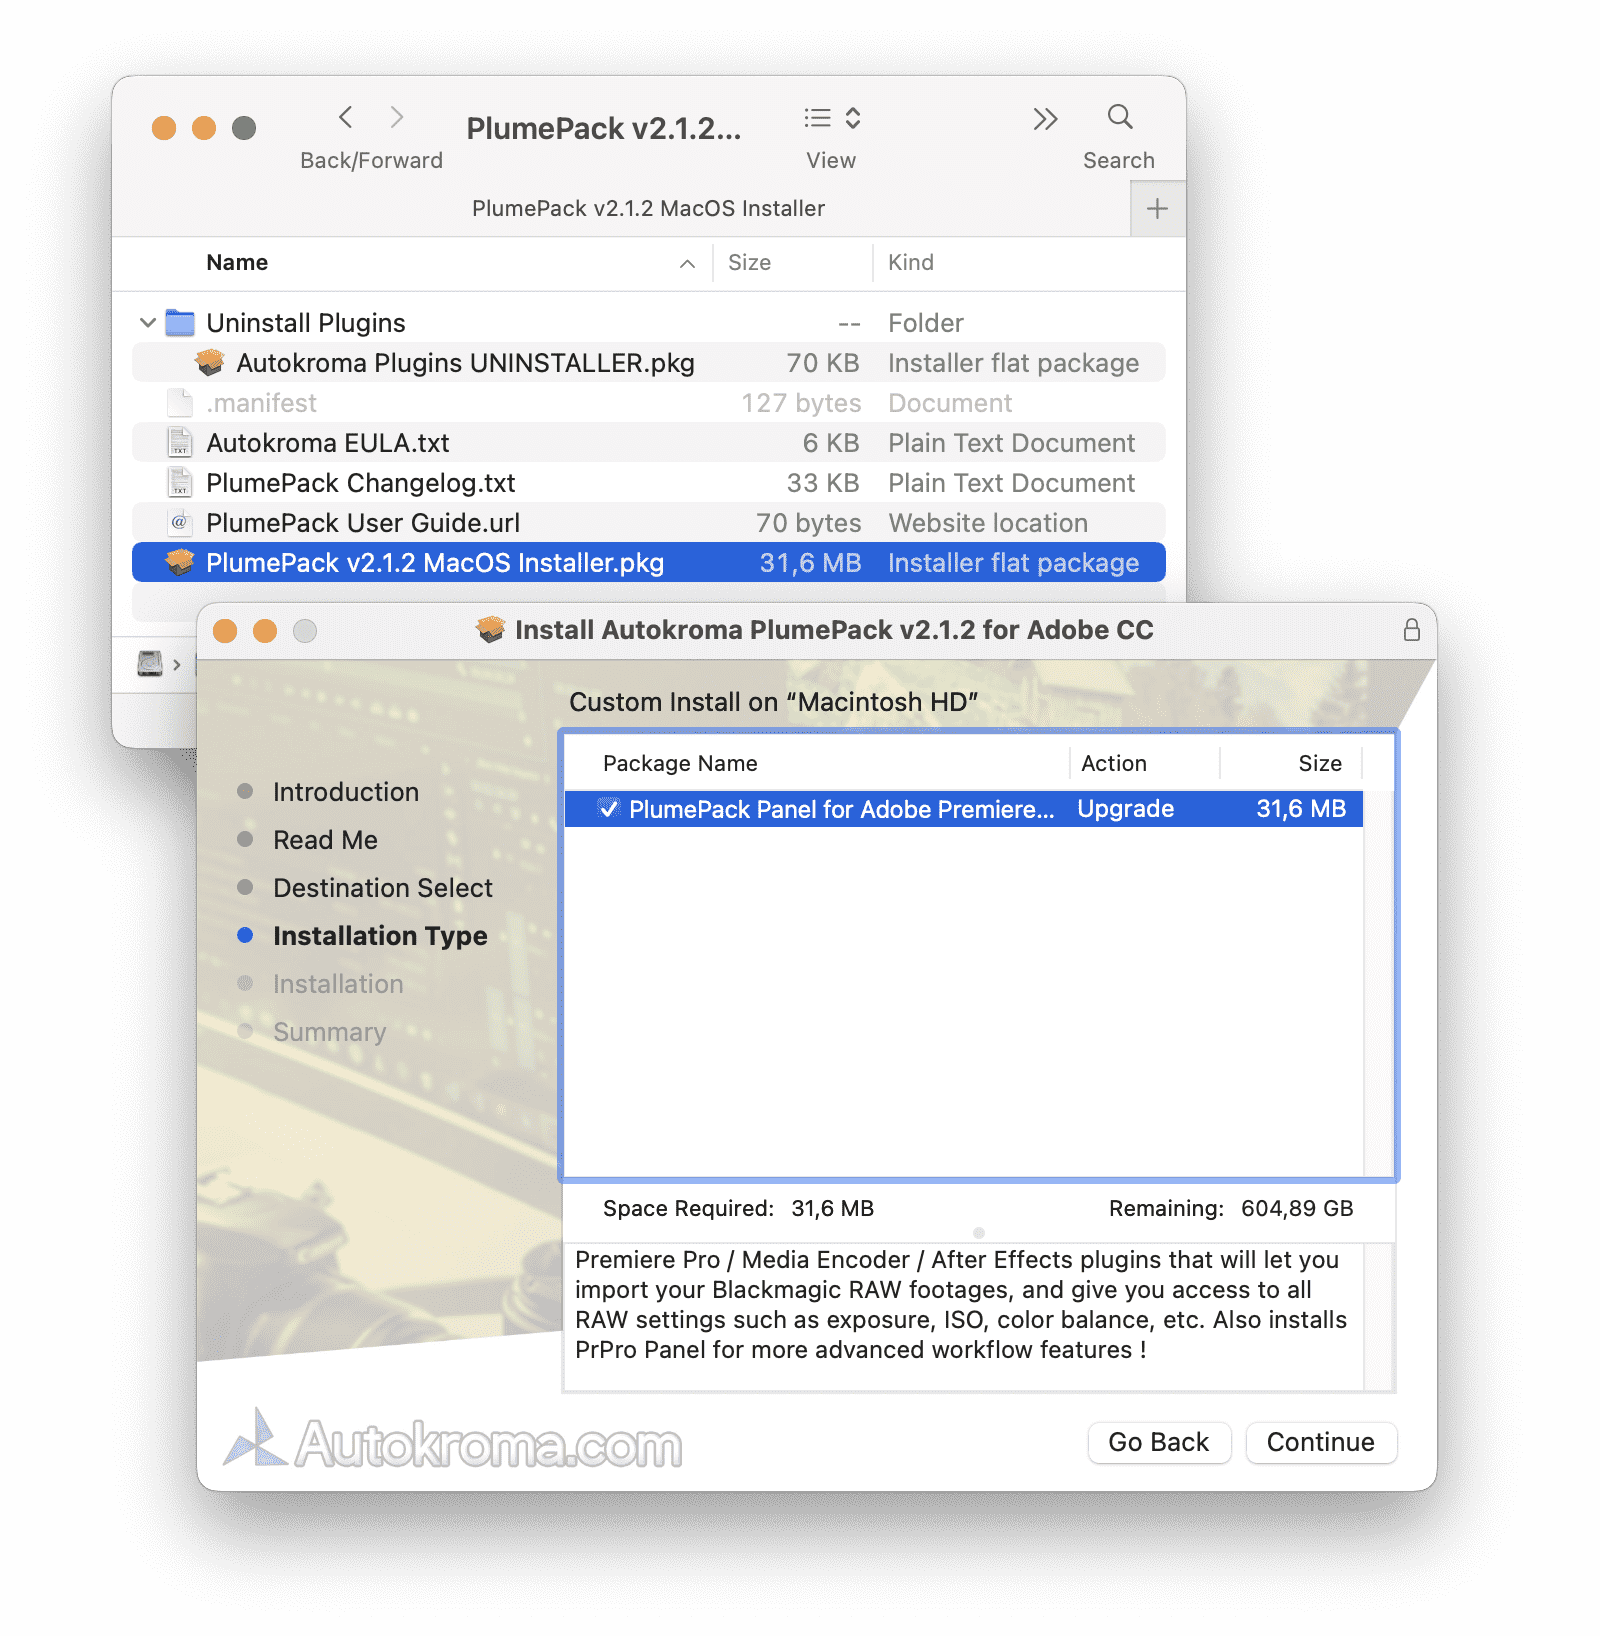
Here are the steps after downloading the plugin and testing the free version:
Retrieve License after Purchase
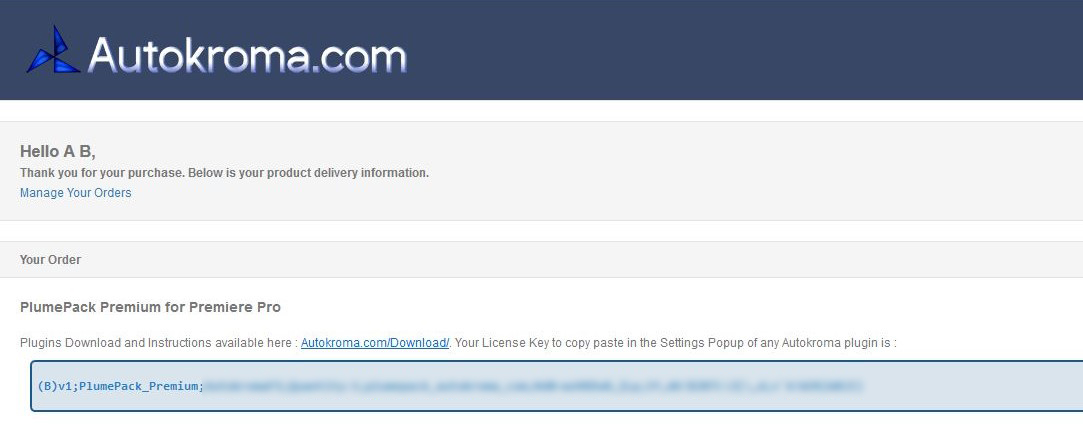
The first step after purchasing PlumePack is to retrieve your license. If you bought it here on this website you should have received the code on the purchase confirmation page and by email ; for example it would look like this:
Your license key will be in bold blue text as seen above, please copy it and move on to the next step. If you can't find the email we sent you with the license you can request we send you again the license on this page.
If you bought it on aescripts + aeplugins, a different reseller, please follow this article.
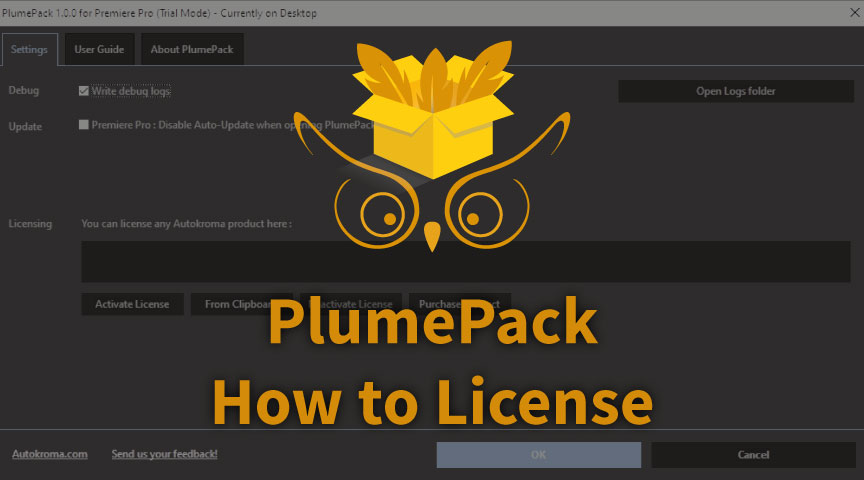
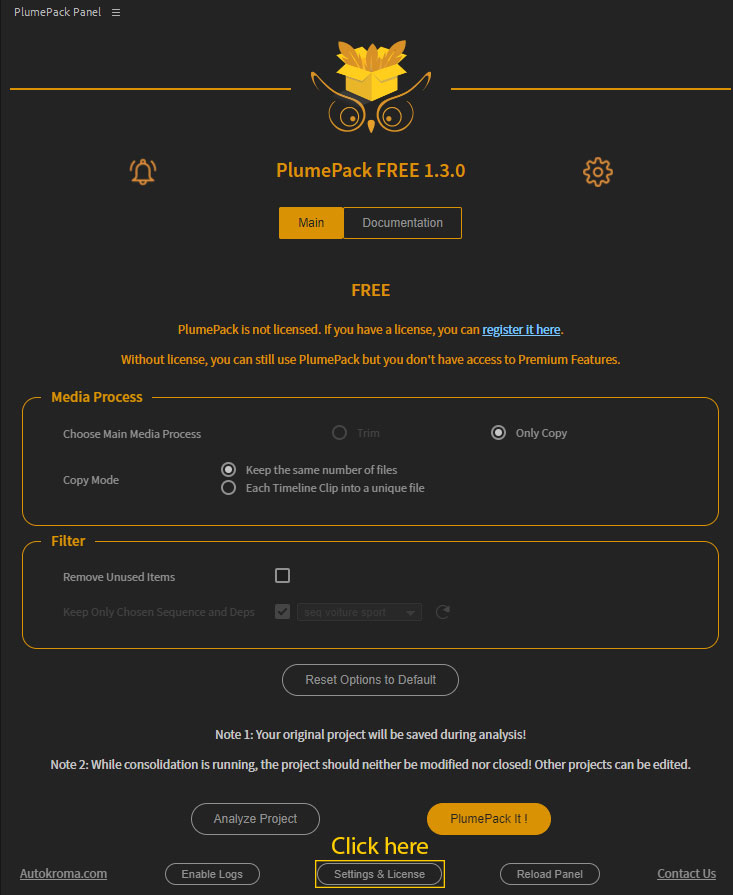
In order to remove the PlumePack Free version limit, you'll need to license it in the Settings popup: this is where you'll also find the PlumePack global settings (such as writing logs).
How to License PlumePack
Once you have your license code, you need to enter it from the "Settings & License" popup.
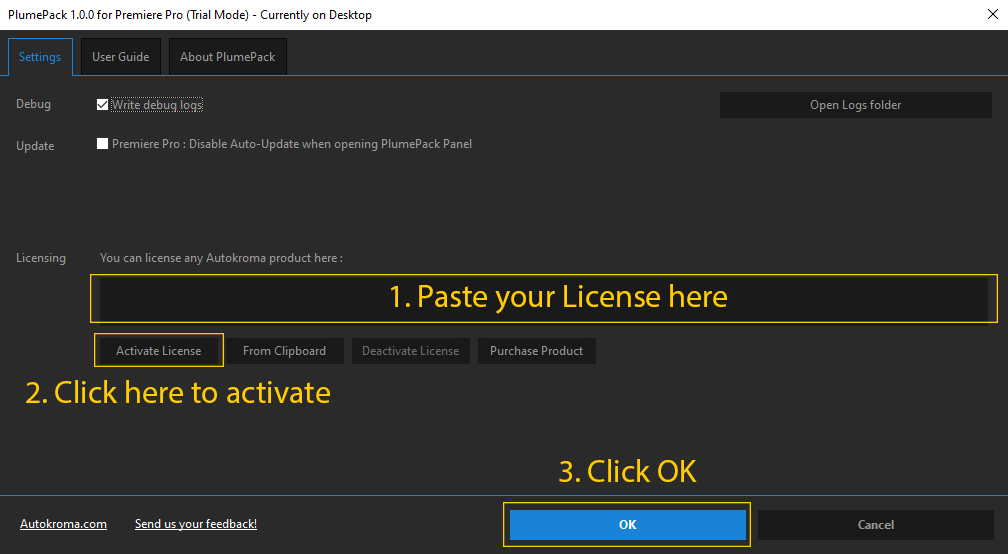
- In the Settings tab you can paste the license you copied at the first step.
If you're on Mac macOS you can use the "Paste Clipboard" button because
COMMAND+Vis not working. - Click the Activate button. Please note you can enter any license for any Autokroma product here
- Click OK and restart Premiere Pro and you shouldn't be in Free mode anymore
Want to learn more on how PlumePack works ?
Go read this article : Introduction to PlumePack
